Presenter Mode lets clients experience the many benefits Modus VR offers without wearing a VR headset or needing a second person and computer to help present. Clients can participate in a live design session by watching on a big screen in your office or from anywhere in the world through video conferencing tools.
Overview
While in Modus VR, your desktop shows your headset view. For those not in VR, this view can be difficult to follow and even uncomfortable. It’s not a practical way to present to clients that aren’t in a position to wear a VR headset.
Presenter Mode provides a way to do live presentations to clients that aren’t in VR—or that may not even be in your office.
Left: What your desktop typically displays. Right: Presenter Mode provides a more stable view for others to watch.
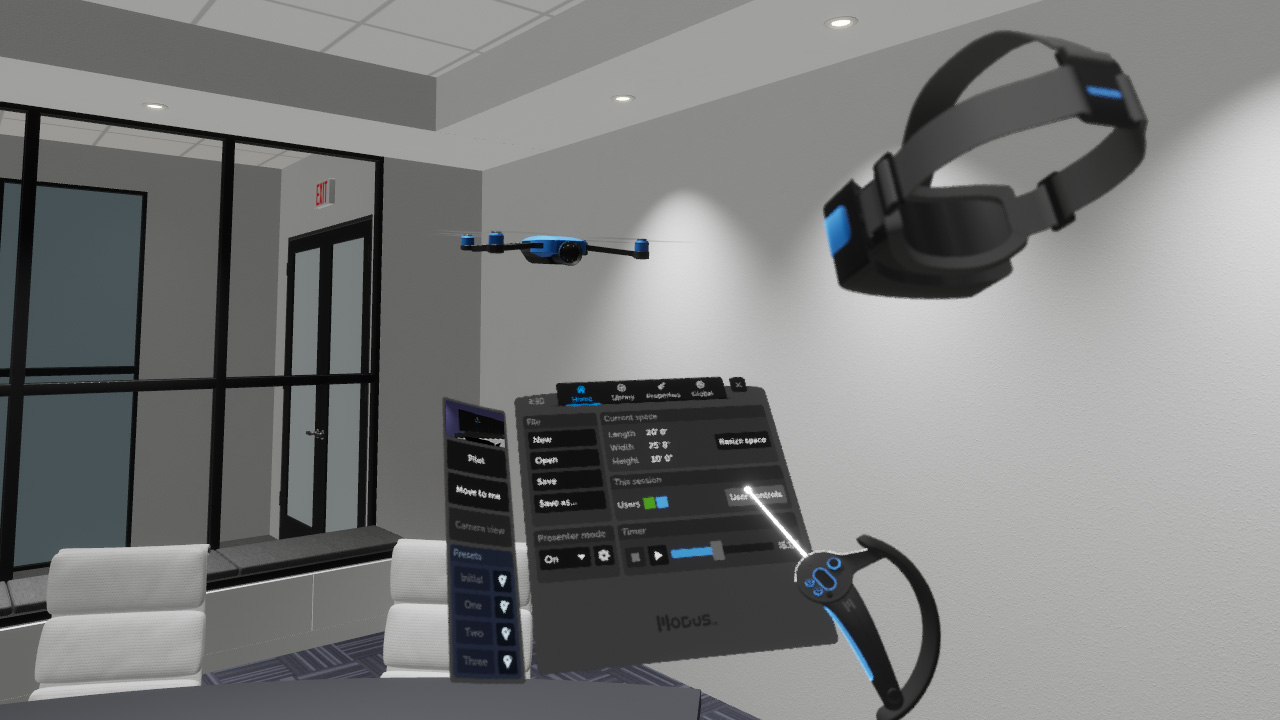
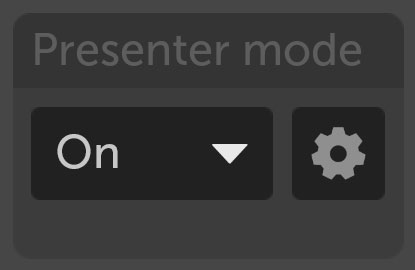
To use Presenter Mode, launch Modus VR and enable Presenter Mode from the bottom left of the Home tab. Now, instead of displaying your headset view, your desktop displays the view from a drone that you control. Perfect for presentations to in-person groups, this view can be sent to a larger screen for others to watch.
Alternatively, if you’d like to share this view over a video call, Modus makes that feed available as a virtual webcam that video conferencing software can use. Simply select that as your video source and your audience can experience a real time design session from anywhere in the world.
While having a client in VR will always be the most impactful way to present, it’s not always practical or necessary. Presenter Mode is ideal for sharing a design with a large group or with clients that can’t meet in person.
Controlling the drone
Once in Presenter Mode, an additional menu appears at the side of your palette. This displays a preview of what the audience is seeing and provides various methods of controlling their view.
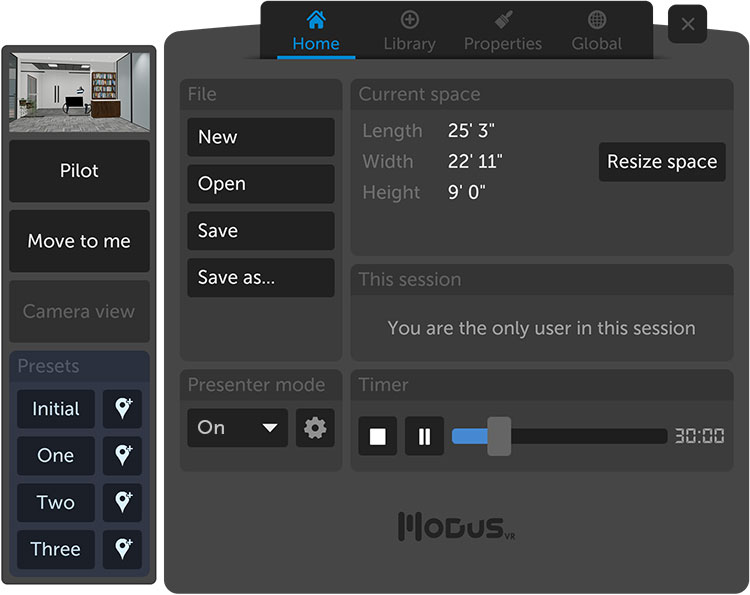
Pilot
This mode lets you freely fly the drone around so you can give a tour of the space, let them see a view from a particular seat, or highlight a feature or element in a room. While piloting the drone, you see a larger preview of what the audience sees.
Move to me
This button moves the drone to where your headset is at that moment. It’s a fast shortcut to quickly move the camera so a client can see exactly what you see.
Camera view
If you’re designing a solution that involves cameras, like a conference room, you can let clients see the view from any given camera. Simply select a camera and click “Camera view.” When in camera view, your drone becomes transparent and an icon appears above the camera the audience is viewing. This is a fast and powerful way to articulate important details like proper camera placement and field of view.
Presets
Presets are locations saved on the space file that the drone can quickly move to. The initial preset is where the drone will start when the space is first loaded. Click a pin icon to store the drone’s current location as a preset, and click the preset name to move the drone to that location.
Note: Remember to save the space file after setting presets!
While the drone is moving to a preset, a “ghost” version of the drone appears at the drone’s final location.
Game controller
Other people near you can control the drone if you have a game controller, like an XBox controller, connected to your PC. This works great for tag-teaming a presentation, or even letting your more savvy customers control what they’d like to see.
Settings
Presenter Mode renders the entire scene twice: once for your headset and once for the audience view. Because of this, Presenter Mode uses significantly more computer resources when it’s active. The Modus VR team has exposed some simple settings for managing the performance to ensure you’re still comfortable while presenting.
To access settings, go to the Home Tab and click the gear next to the Presenter Mode dropdown.
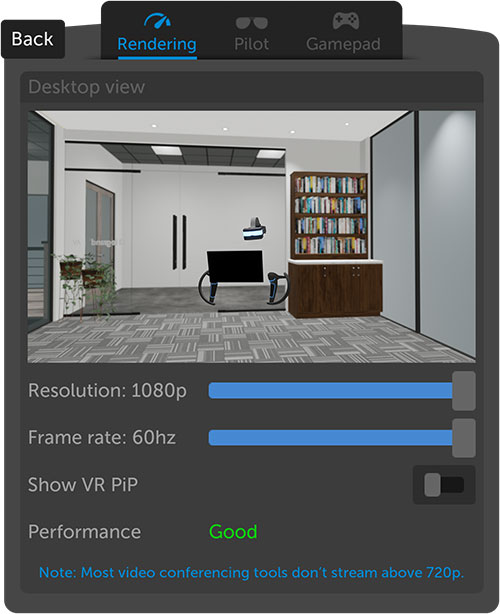
Rendering and performance
The two sliders available are for resolution and framerate. In nearly all cases for video conferencing, going up to 1080p is not necessary because most solutions cap the resolution at 720p. Without a paid license (and a request to the support team), Zoom won’t even go up to 720p.
We’ve found a higher framerate and lower resolution gives a good balance between performance and presentation. As always, we recommend testing things with a co-worker before presenting to a client in-person or over video.
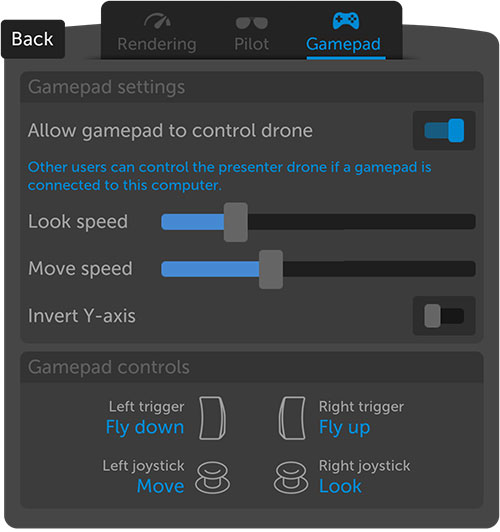
Controls
The two Controls tabs let you determine the speed at which the drone moves and turns, as well as inverting the Y-axis if you’re more comfortable with flight controls. In addition, you can disable gamepad input if necessary.
Note: The objective is to provide a smooth, comfortable presentation for those watching. Movement and turn speeds should be set lower than you might normally prefer. It’s ok if it takes a few seconds to cross the room!
Tips & tricks
- Take it slow! This isn’t a video game for you; this is a presentation for others to watch. Even if it takes you 5-10 seconds to go from one place to another, your customers will be eagerly soaking it all in. They haven’t been in the space nearly as long as you have. Their comfort is paramount!
- You typically don’t need to move the camera around very much at all. In fact, many viewers prefer the camera to stay in one or two places most of the time.
- Use presets and consider creating an internal standard for them. For example, your Initial Preset could always be at the entrance to the room, Preset #1 could be directly facing the screen in the primary location, Preset #2 could be the first corner clockwise around the room, and so on.
- Remember to check your side menu to make sure you, and whatever you’re doing, are on camera. Your clients often won’t know to speak up if you forget to move the camera.
- Practice, practice, practice! Get comfortable pulling up presets in Modus VR, and get used to finding the audio/video settings in your video conferencing software.
- Have fun and keep it interactive! Remember, your clients have never experienced anything like this before. They won’t remember the little hiccups in your presentation, but they’ll definitely remember you showing them their project and seeing things change in real time.
- Ask us for help! We’ve been developing Presenter Mode for a couple of years now and we’ve learned a lot. We’re eager to share those lessons with you!
Working with video conferencing tools
Using Presenter Mode with video platforms all follow the same concept:
- You start the call using a normal webcam and microphone
- When it’s time to go into Modus VR:
- Change the video from your webcam to Modus Virtual Camera
- Change the microphone to your VR headset’s microphone
- Change the speakers to your VR headset’s speakers
- You can now speak and hear others on the call through your headset and conduct a live design session!
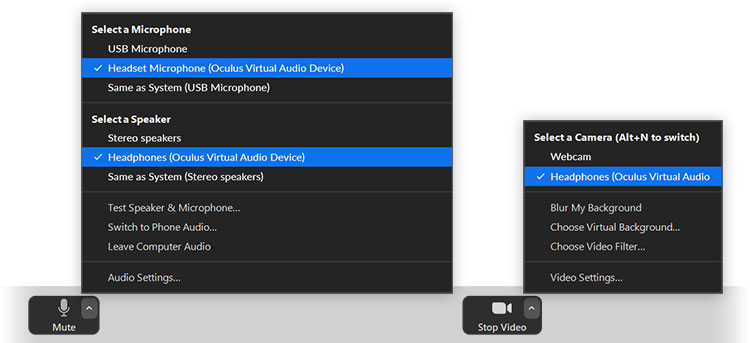
Zoom, for example, presents its audio/video options along the bottom bar. Please contact support if you need assistance with your preferred video platform. We’ve extensively used Zoom, Microsoft Teams, Google Meet, and Cisco Webex and are happy to help with all others.
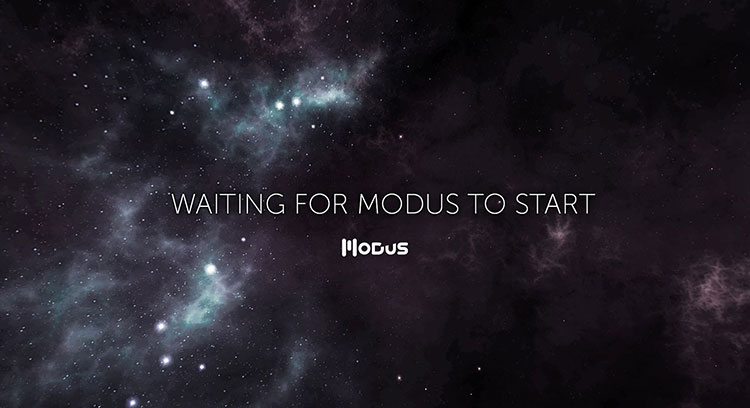
If you see this screen it means Modus VR or Modus Photo aren’t running yet. If it appears backwards, that’s ok! Everyone else will see the image the correct way. Some video conferencing platforms reverse the image you see so it behaves like a mirror.
Please contact support if you’d like help setting up your video conferencing solution with Modus VR!