Introduction
Introducing the new Floor Plan Editor. As Modus VR has grown, we’ve recognized the need to provide a more powerful and easier way to draw more complex spaces. The new Floor Plan Editor helps solve that problem. There are lots of key components to the new editor so we’ve created several different tutorial videos to help explain these concepts.
In this article we will be going through the steps to drawing out a floor plan. Each step has a tutorial video showing the controls and general best practices.
Step 1: Creating Spaces and Adding Reference Images
There’s a few important steps to get you started on drawing a floor plan:
- Create a space through the Files tab.
- Choose between a Simple and Complex space.
- Select a reference image if you have one available.
We cover each of these steps in the video below.
Step 2: Drawing Walls and Wall Properties
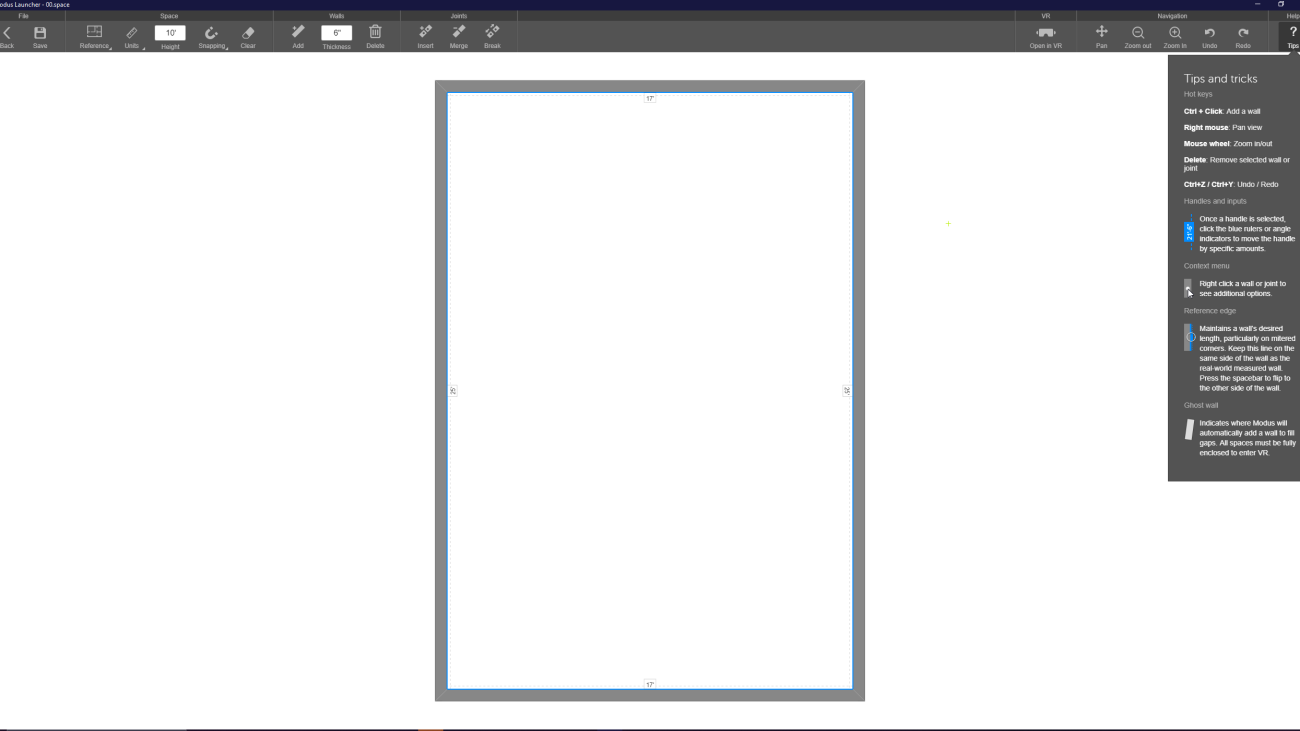
The key to drawing rooms in the floor plan editor is understanding wall properties. Below is a video describing everything you need to know about walls. If you ever need a reminder of how walls work, you can look at the tips and tricks in the help section in the top right.
Step 3: Finishing the Room
In the video below, we finish drawing the room and describe best practices to help speed up the drawing process.
Summary
The new floor plan editor can be a powerful tool to help you build more complex spaces. It’s simple, quick, and powerful. We hope you enjoy using it!